Every year around this time, you see people being very creative in the type of decorations that they employ in generating the atmosphere for the Halloween traditions. Whether it is adding some basic fall/autumn decorations to the outside of their houses or by going all out and creating a completely different world surrounding their property, this particular project can be leveraged for many different setups and is remarkably simple to create.

With some simple supplies from your local hardware store, a little bit of cutting gluing, and spraying later you can have a very effective nighttime Halloween light-up display prop to show off to all of the trick-or-treaters that show up to your door. Below you will find step-by-step instructions on how to assemble the cauldrons, and if you are motivated you can assemble one in just a few hours.
Starting to gather the components, you will need the following:
- Planter, preferrable that is dark in color to be the outside of your cauldron.
- Small piece of 1/2 inch plywood
- 3ft-6ft Led battery powered light strip
- Can of Spray foam
- 1-2 Wiffle Balls (White)
- 3-4 Ping pong balls (White)
- Velcro strips
- Super Glue
- Grey and Black Spray Paint
- Wax Paper
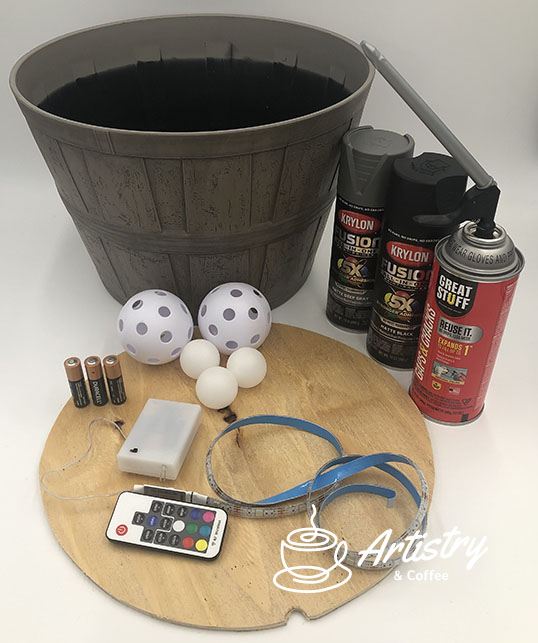
These are the supplies I used this year to build several of these props. If you notice the small cutout in the edge of the wood insert, that was done to accommodate the power cord for the LED strip as you will see as we progress.
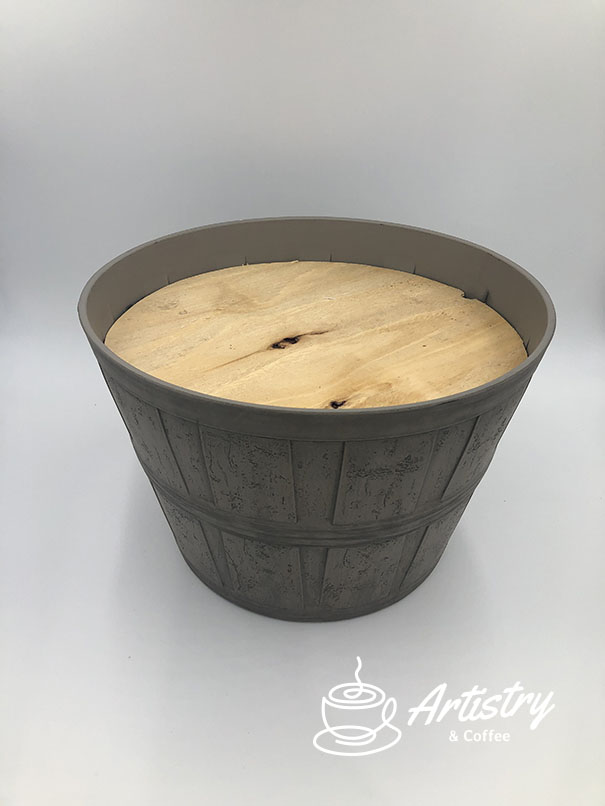
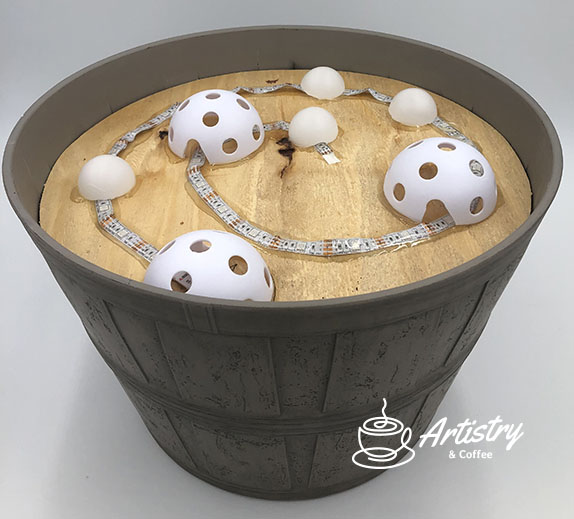
To start off with I measured the opening of the planter that I decided to use. Make sure to measure the diameter about 2 inches from the lip of the container since you will want some space once it is assembled to look like it is boiling. In some previous builds, I also added some more vents to the outside of the ring so that either a fog machine or a dry-ice setup could add some additional effects to the prop.
For this unit, the insert had a 13-inch diameter, so using a string to measure it out on a square of plywood, I cut out the shape using a jig-saw. Then using a drill bit I notched out the edge insert. Make sure to test the fit so that it sits as you want it to, I also thought of adding some simple loops of some kind so that it would be easy to pull the insert back out as I worked on this project. Once you are satisfied it is time to move on to the next step, adding the lights.

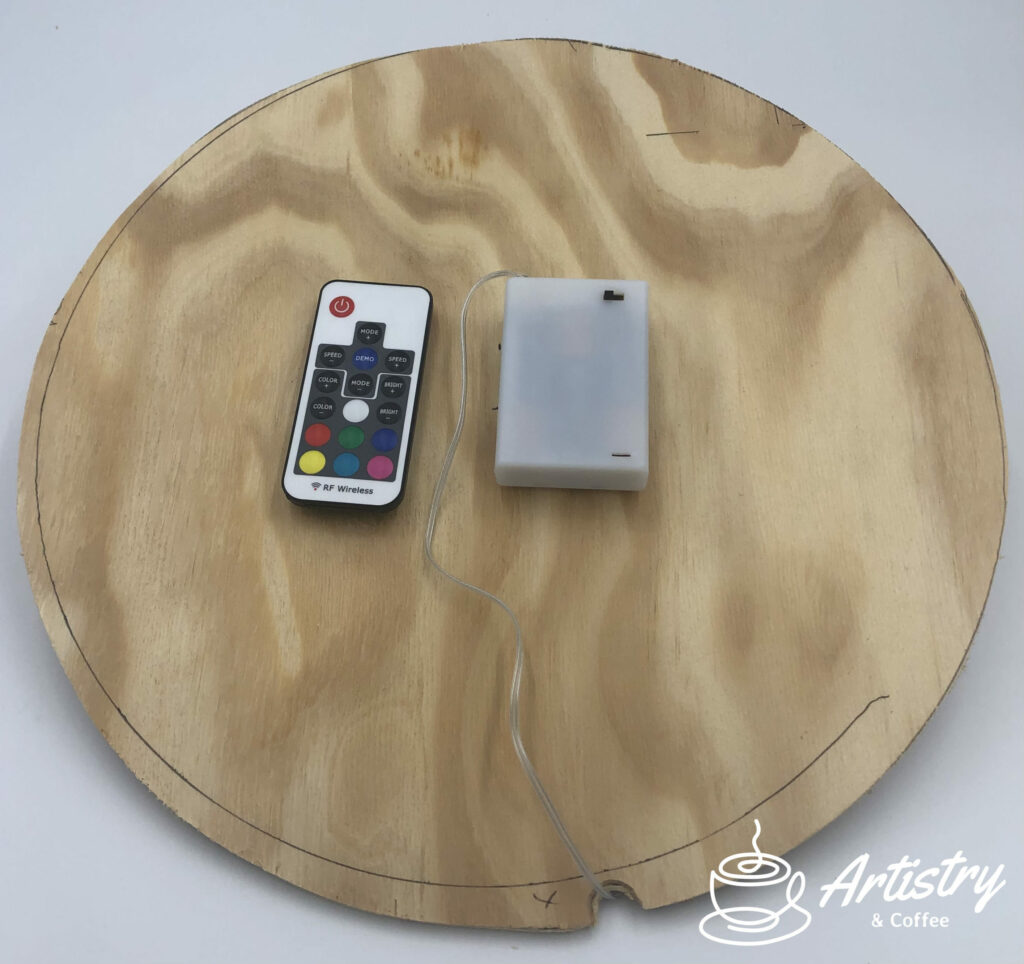
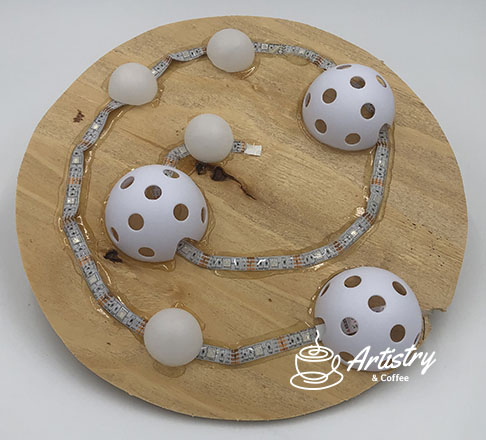
I start this next step by laying the light strip out in a spiral pattern using the sticky strip on the back to help me with initial placement, it will not stay long so this is just to help you get it laid out as you would like it. once I have the positioning set, I wire the battery pack under the insert and velcro it to the center so that it will be balanced once installed. See the images below for reference.
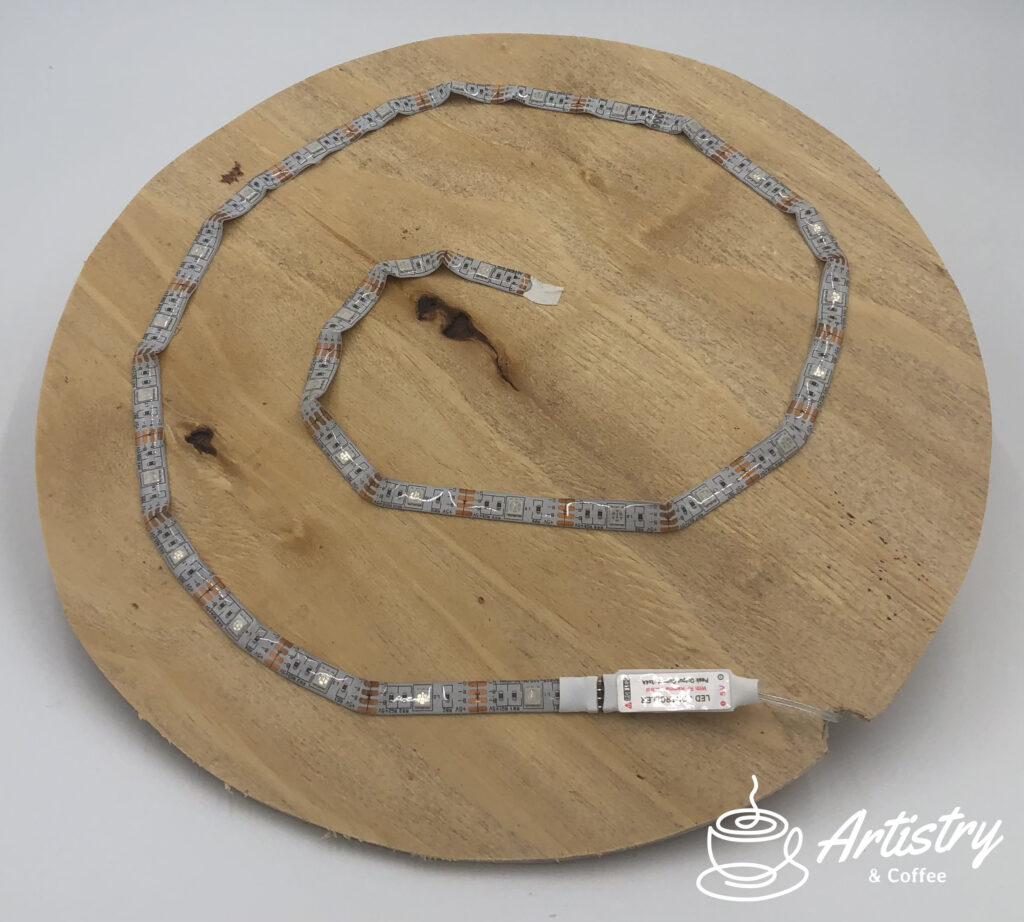
Here is where we will start the excessive use of super glue in order to secure the light strip into this pattern. I went through a lot of glue during this step and had to even place some weighted material to keep the strip in place while it sets. This will be the lengthiest part of the build since you are essentially just waiting for the glue to dry… let’s finish getting ready for the next part, which also will require a bit of glue to finish.
I bet when you read the supply list you thought, “why do I need the wiffle balls and ping-pong balls?”. Well, part of the cauldron aesthetic that we are wanting to create is that it is boiling, so these items will help us to provide some structure to the following steps, helping us to make a dynamic boing landscape for the top of our cauldrons. The other part is that the white material helps to reflect the light of the LED strip to enhance the color and light effects of the prop.
First thing, you will need to cut them all in half, I have found that razor blades work best in this application, but be careful not to cause injury to yourself while splitting them up. Once that is complete and the first round of gluing is complete, you can start positioning these bubble place holders onto the insert board.
Starting to look pretty good so far, the next few steps are not too difficult but do have a bit of artistic expression involved, I recommend taking your time because once you start, trying to redo it is very difficult if not causing you to start over all together. Here we will start to shape the final stage of this prop build, using spray foam insulation.
This stuff is very sticky, so in order to keep it from adhering to your planter and sealing your whole project together, make sure to line the edge of your planter with Wax paper. ensure that it also extends over the outer edge and under the insert. This step should also be completed with the insert installed so that you can see the resulting effect.
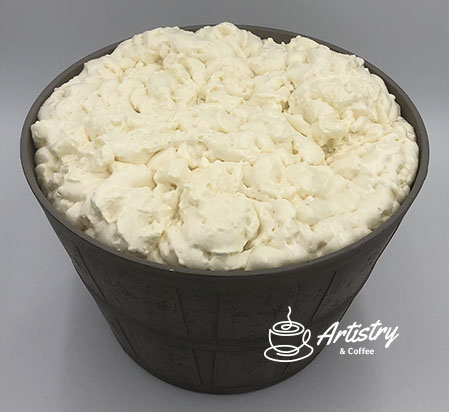
*NOTE: Spray foam will continue to expand after you initially spray it, doing it in layers is not a bad plan, but don’t go too thick, that limits how much light will make it through to give you that cauldron glow.
I tend to start by tracing the edge of the container and then working my way around the “bubbles” filling in the base layer before starting to build the layers a little higher.
Getting so close now, and here will be the final touches. The spray paint.
When applying this layer, you WILL NOT want to completely cover the insulation with paint. The more you add the less light that will show through!
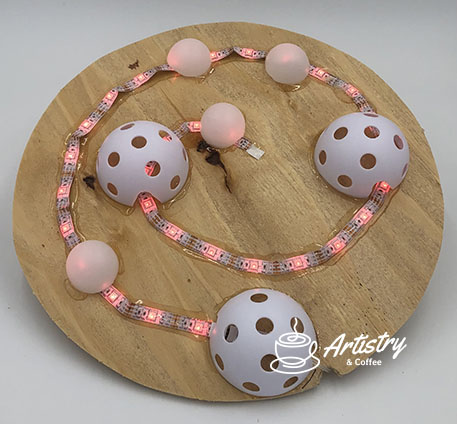
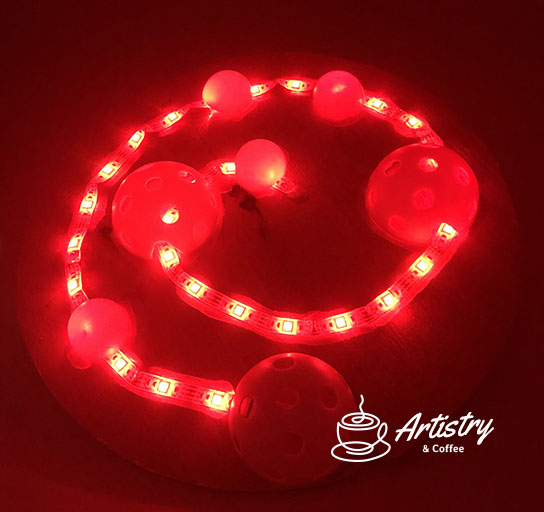
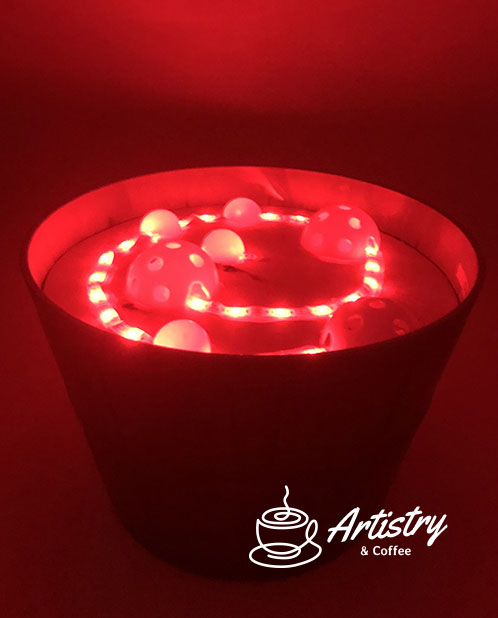
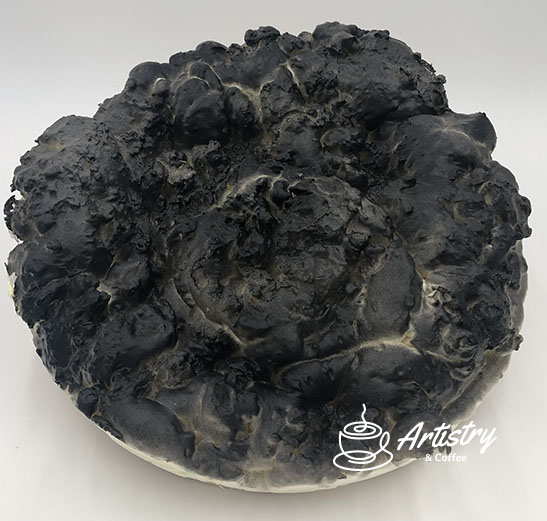
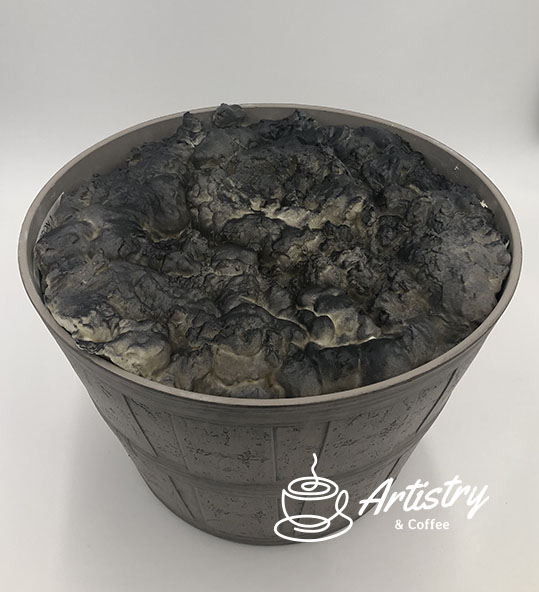
I use the gray as a base, and lightly dust the entire insert, while not in the planter of course. Then I add the touches of black to give it an extra dimension and to also make it look better in the light of day. The next set of images will show the final paint layer and what it looks like when lit up in the dark.
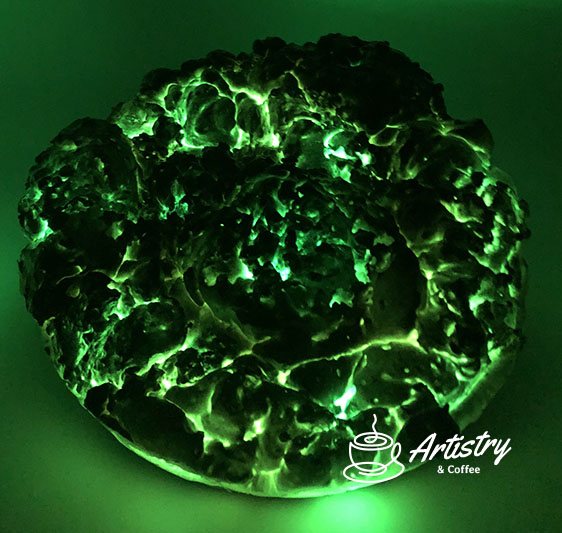
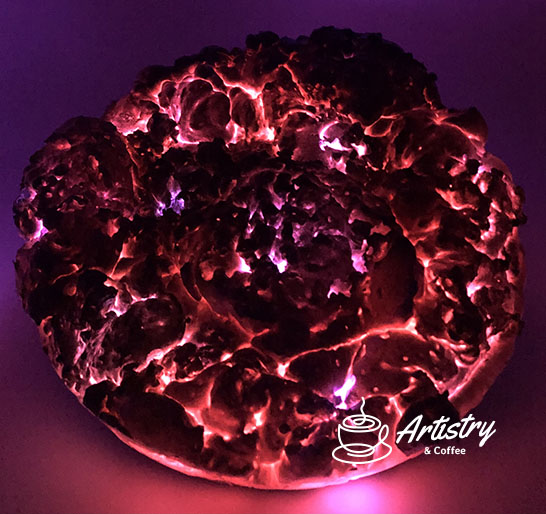
This project was a lot of fun and came out great, I can’t wait to use them for Halloween. Get creative, have some fun and share what your personal projects produce, would love to see them. As one last treat, below is a video of the more advanced version of this project. Check out more of our projects and feel free to leave us some feedback!
Leave a Reply